Blueberry Bumplings

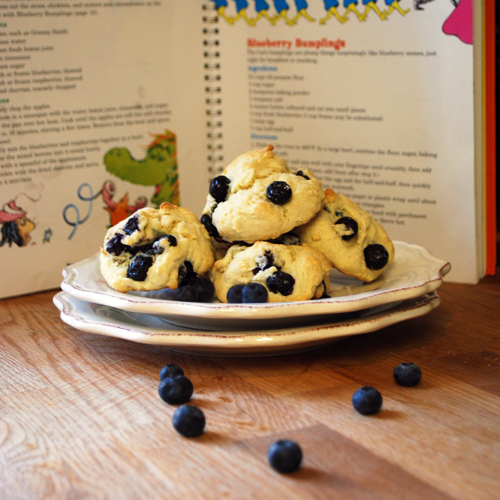
Dr. Seuss inspired... Blueberry Bumplings
Donuts, dumplings, blueberry bumplings, chocolate mush-mush, super sweet.
Clam stew, ham stew, watermelon wush wush, Oh, the stuff that I could eat!

From The Cat in the Hat Songbook

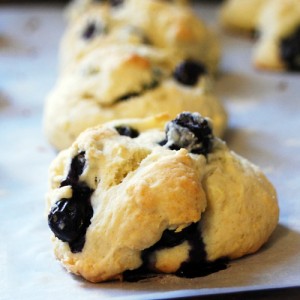
Start your day the Dr. Seuss way! All you little ducklings, have some blueberry bumplings, for breakfast or snack, to give you that perfect quack. I checked out the Green Eggs and Ham Cookbook from the library and we had a great time testing out some of the recipes. If you haven’t heard of this cookbook, its a perfect one for cooking with kids and all the recipes are based on a Dr. Seuss excerpt.
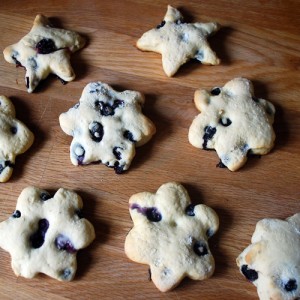
Blueberry Bumplings cut outs Dr. Seuss inspired... Blueberry Bumplings Dr. Seuss inspired... Blueberry Bumplings
Blueberry Bumplings is probably our favorite recipe in the book, its become a staple in our home. We like to make them for our weekend breakfast. They taste similar to scones and are very airy and they are the best when the blueberries are still warm and gooey. One change I made, and would recommend: triple the amount of blueberries. The original calls for only 1/2 cup. We use 1 1/2 cups because the blueberries are the best part and we want at least one in every bite.

Recipe: Blueberry Bumplings

Summary: Adapted from the Green Eggs and Ham Cookbook by Georgeanne Brennan

Ingredients

  • 2 1/4 cup all-purpose flour
  • 1/3 cup sugar
  • 2 tsp baking powder
  • 1/4 tsp salt
  • 1 stick butter softened (1/2 cup)
  • 1 1/2 cup fresh or frozen blueberries
  • 1 large egg
  • 3/4 cup half-and-half

Instructions

  1. Preheat oven to 400F. Prepare cookie sheets with parchment paper.
  2. In a large bowl, combine flour, sugar, baking powder, and salt.
  3. Add butter and mix with fingertips until crumbly.
  4. In a separate small bowl, whisk egg and half-and-half. Quickly pour into the dry mixture and stir to combine, but don’t overwork. Then stir in your blueberries.
  5. Now you can either just lump them by the spoonful onto prepared baking sheets, or cut them into shapes. To do the shapes: lay the dough between 2 wax paper sheets ( I used flour on top the wax paper to help from sticking). pat down to about 1/2 inch thick. Remove top wax paper and use cookie cutters to cut out shapes.
  6. Place on prepared cookie sheets.
  7. Bake in oven for about 10 minutes until golden on top.

Preparation time: 15 minute(s)

Cooking time: 10 minute(s)

Number of servings (yield): 12

Tool Box Birthday Cake

Tool Box  Handy Manny Cake

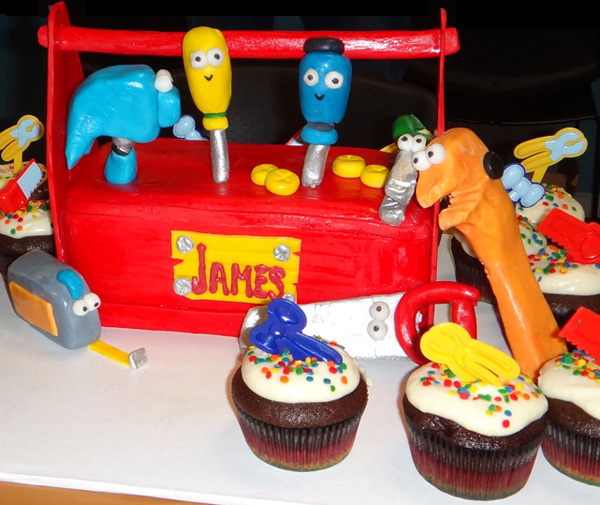
Whenever my husband gets out his tools to fix or assemble something in our home.. my son excitedly gets his toy tools so he can work alongside him as his trusty assistant. So, to celebrate his 3rd birthday, we had his party at every tool man’s go to place… the Home Depot! And, of course, we had to have a tool box cake and cupcakes. Luckily my mom was in town and she helped me build this fantastic cake!

The party was centered around a wood working project (a helicopter) which the parents helped their little ones build. The Home Depot supplied the training room, balloons, project kits, and little orange apron for every party guest! They even had Homer, the Home Depot mascot, come in to greet the kids and pose for pictures.

To go with the building theme, we chose to make the cake look like the Handy Manny tool box. My little builder was so happy that day… and as cool as the cake was, I think his favorite part was sitting on his daddy’s lap and building that helicopter!

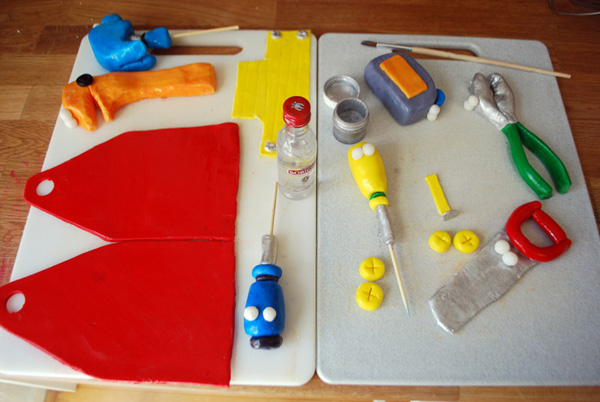
Handy Manny Fondant Tools

One little party goer had an egg allergy, so we made wacky cake, a delicious and super easy chocolate cake recipe that dates back to the late 1930’s. It is believed that this cake was created due to the rationing of milk and eggs during World War II. The cake is light and very tasty. There are many variations of this recipe if you want to experiment with flavors or need to adjust for other allergies.
Continue reading

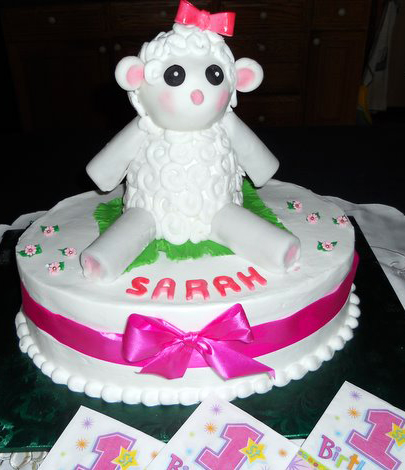
Little Lamb Cake

This adorable lamb cake is perfect for birthdays or Easter or baby showers.

Little Lamb Cake

Happy 1st Birthday to my beautiful niece, Sarah! She is crazy in love with her lamb dolls so my mom (aka grandma) did not disappoint when she made this cake for the special occasion. The cake base was for all the guests, and the little lamb sitting on top was specially made with the intention of it getting picked up and hugged and eaten, which it was! Sarah’s fingers, hands, face, and well… Sarah was completely covered in frosting and cake within minutes.

I asked my mom to take some photos of the cake building process so I could share with our more ambitious Cake Student visitors the secrets to assembling such a cake. So without further ado…

Continue reading

Related Posts Plugin for WordPress, Blogger...