Watermelon Agua Fresca

Watermelon Agua Fresca

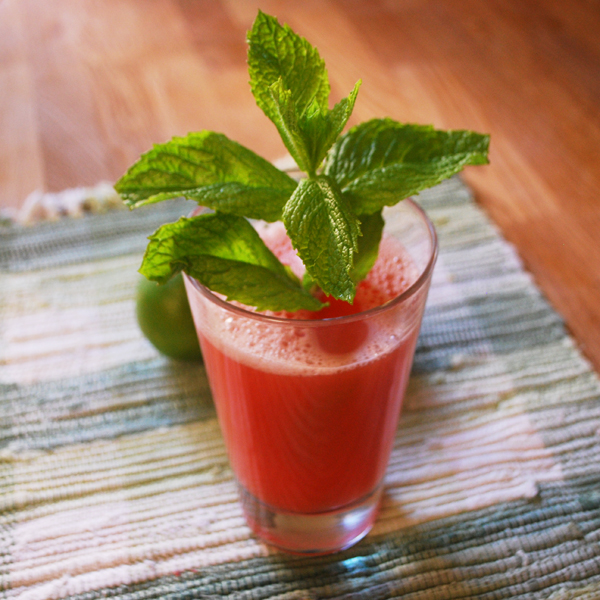
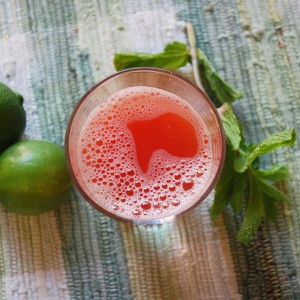
I started to notice agua frescas for sale at Whole Foods (California) for something like $3 for 8oz. The watermelon costs about half that at our local produce stand so I thought I might try to make this myself. I went home and did a little research on this type of drink.

Agua frescas were created in Mexico and are still widely popular and available from street vendors. These beverages pair nicely with spicy food. Many bloggers and recipes instruct you to use a blender (which I’m sure is time saving and still delicious) but if you really want the authentic experience, mash the fruit by hand and don’t use ice. The reason… less airy and frothy and less dilution. The beverage should be chilled properly so its nice and cool.

Watermelons are in season and showing up in big bins outside the grocery stores. Instead of walking by them, pick one up and make yourself a cool refreshing beverage. Mash it up and create a refreshing simple and healthy beverage. So much better than the processed fruit juices in the grocery store and so much more fun to make.

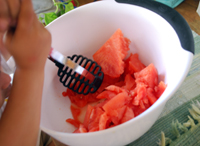
My 3 year old was the “masher” and I loved watching him laugh, get a little messy, and do all the work! Honestly, it was a fun activity to do and ended with a rewarding beverage to enjoy on a hot summer day. We loved this drink.. my son was excited to see where juice “comes from” and couldn’t get enough.
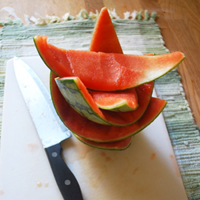
Chop it up
My Little Masher

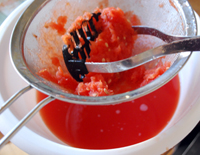
Strain the juice

Recipe: Watermelon Agua Fresca

Summary: “Fresh Water”
Watermelon Agua Fresca

Ingredients

  • 1 5lb watermelon
  • 2 cups cold water
  • 1 Tbsp agave syrup (or other sweetener)
  • 1 lime
  • 1 sprig mint (optional)

Instructions

  1. Cut up the watermelon.
  2. Mash with fork or potato masher.
  3. Use strainer to strain out juice from pulp.
  4. Add water, sweetener, and juice of 1 lime to the juice.
  5. Refrigerate for a few hours.
  6. Garnish with mint and serve.

Preparation time: 20 minute(s)

Cooking time: 2 hour(s)

Number of servings (yield): 4

I’m All Shook Up Smoothie

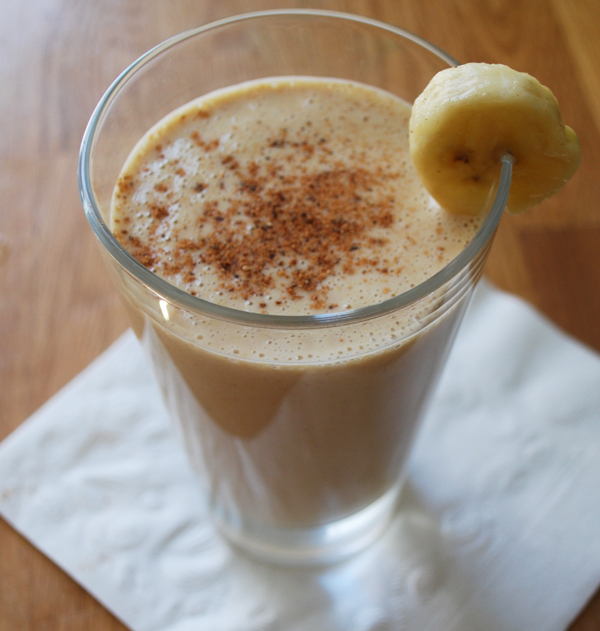
Elvis Smoothie This is a smoothie that Elvis Presley would probably have approved of (his favorite sandwich: peanut butter + honey + banana + bacon!). I omitted the bacon because, well, that would just be pretty gross.
Elvis Smoothie
I do love making this smoothie, its so easy and tasty and I don’t feel any guilt in drinking a big tall glass of it. My three year old loves it too, a great way to get him to drink his milk. I noticed that my son has inherited a funny habit of mine… we kind of do a happy bopping motion when we eat something delicious. When we enjoy these smoothies, we like to do some Elvis dancing in the kitchen too.

I recently perfected this beverage, I have made it at least twice a week for the past month, making it different and adjusting ingredients each time. I think I finally have it just right. I use vanilla flavored almond milk because we have some dairy sensitivities in this household, but you can just as easily use regular milk and add a touch of vanilla extract as a substitute. I use a frozen banana so that I can skip the ice cube step that most smoothies have (my blender just doesn’t crush ice very easily or quickly).

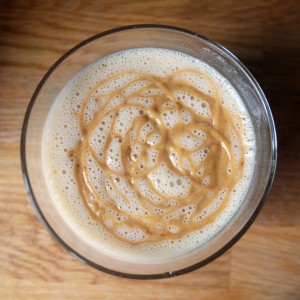
Note – Sometimes I decorate the top with melted peanut butter mixture (melt 1 spoonful of PB in microwavable bowl for about 1 minute, stirring half way through. Then mix with a little milk or honey to help make it soupy. Spoon into a ziploc bag, snip off a tiny piece of one corner and then squeeze it out on top of the smoothie.)

Decorate with melted peanut butter
I hope you enjoy it as much as we do!

Recipe: I’m All Shook Up Smoothie

Summary: a Peanut Butter, Banana, and Honey Smoothie

Ingredients

  • 2 cups Vanilla flavored Almond Milk
  • 1/2 cup peanut butter
  • 3 Tbsp honey
  • 1 large banana (peeled, sliced, frozen)
  • nutmeg (optional)

Instructions

  1. Peel and slice your banana. Put into a bowl and into the freezer for about an hour.
  2. Once banana is ready, throw all ingredients (except the nutmeg) into a blender. Blend until smooth.
  3. Shake some nutmeg on top. Serve. Dance. Be Merry.

Preparation time: 1 hour(s) (freezing time)

Cooking time: 5 minute(s)

Number of servings (yield): 4
Peach and Gorgonzola Chicken Pizza

Peach and Gorgonzola Chicken Pizza
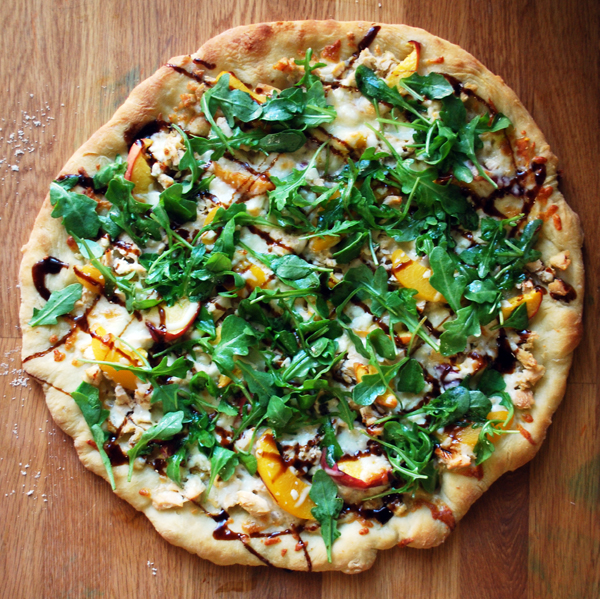
Goodbye red sauce pizzas! After having this surprisingly delicious combination of peach, cheese, and chicken pizza (a recipe by Cooking Light), I have opened my eyes to all new possible ways of enjoying a pizza pie. Having the arugula on the top was like eating your pizza and salad at the same time… and it works! I have made this 3 times in the last month, I may never tire of it.

The recipe is by Cooking Light and calls for less cheese than what I used, but I can’t help myself… I like my pizza cheesy. It also teaches you how to reduce balsamic vinegar to make a thick syrupy glaze. I actually already had a bottle of Balsamic Vinegar Glaze in my cupboard (which I had bought by mistake) and was happy to find a recipe that calls for it. But after reading the instructions, I would imagine it would be very easy and quick to make the glaze. I wouldn’t eat this pizza without it, the balsamic really adds a wonderful flavor.

If you don’t have chicken already cooked, just put the raw chicken breast into a pot of simmering (low boil) water for about 10-15 minutes, or until no longer pink in the center. Let it cool. Take a fork and pull to shred it, or to save more time… just chop it up into tiny pieces. Do this while the pizza crust is cooking in the oven.

Recipe: Peach and Gorgonzola Chicken Pizza

Peach and Gorgonzola Pizza

Ingredients

  • 1 pizza dough (I use Trader Joes)
  • 1 Tbsp olive oil
  • 1 cup shredded mozzarella cheese
  • 1 chicken breast (cooked and shredded)
  • 1/3 cup crumbled Gorgonzola cheese
  • 1 large or 2 small peaches, thinly sliced
  • 1/3 cup balsamic vinegar OR balsamic glaze
  • a handful of Arugula Lettuce

Instructions

  1. Preheat oven to 400.
  2. Roll out dough on floured surface. Transfer to prepared pizza pan or baking sheet. Brush on a little olive oil. Bake for about 10 minutes or until no longer wet looking. Remove from oven.
  3. Top pizza crust with half the mozzarella cheese, shredded chicken, peach slices, gorgonzola cheese, and then finally the last of the mozzarella.
  4. Bake for 10-12 minutes or until the crust looks a nice golden color.
  5. Meanwhile, if you are using balsamic vinegar… heat the vinegar in a small saucepan and heat on medium high for about 5 minutes. The idea is to reduce the vinegar until its a thick glaze. You can also buy this in glaze form (like I have).
  6. In a small bowl toss the arugula with very little olive oil and balsamic vinegar.
  7. When the pizza has finished baking, drizzle with the balsamic glaze. Top with arugula. Enjoy!

Preparation time: 10 minute(s)

Cooking time: 20 minute(s)

Number of servings (yield): 4 (2 slices per person)

An American Parfait

Fruit n Yogurt parfait for Memorial Day

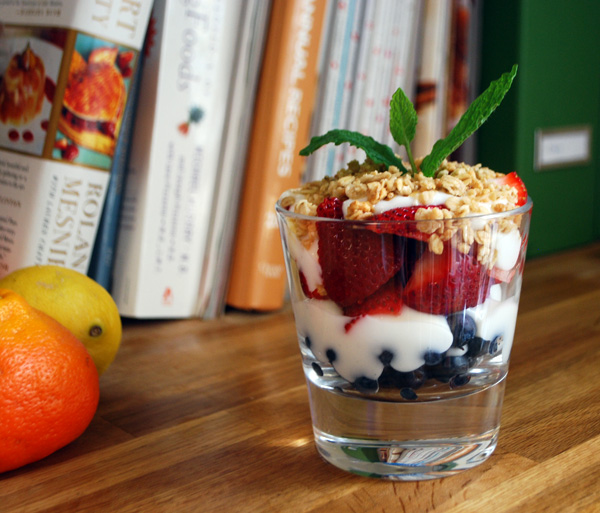
An easy, light and healthy treat showcasing our beautiful red, white and blue colors.. a fruit and yogurt parfait is a nice dessert for a sunny Memorial Day picnic. Traditionally, the French parfait is made with all sorts of ingredients including eggs and cream. But the American take on this is much more simple and healthy. Simply layer vanilla yogurt with strawberries and blueberries. Top with some granola (I like praline pecan from Trader Joes).

Happy Memorial Day!

Related Posts Plugin for WordPress, Blogger...