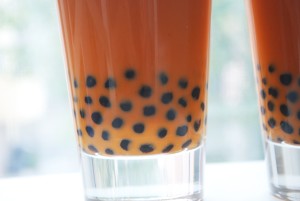
Thai Bubble Tea

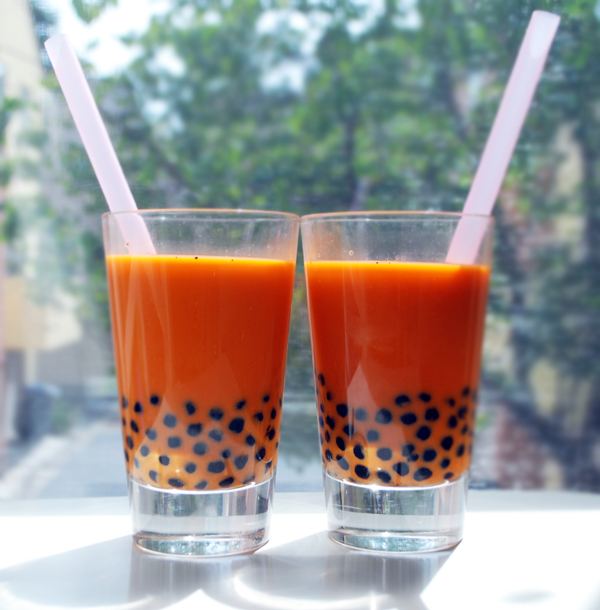
Boba Tea for Two
Bubble Tea was invented in Taiwan in the 1980’s when a tea vendor started to add blended fruit to the tea to gain popularity with the school children, and when the tea and fruit were shaken it formed bubbles (hence the name). Not too long after, tapioca pearls were introduced and added to the drink which, once again, resembled bubbles. The drink is also known as “boba tea” because the texture is said to be similar to a female breast!
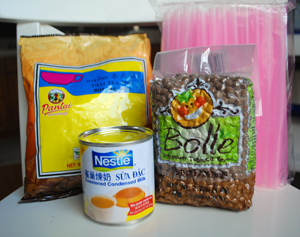
Grocery Items
In California Bubble Tea is everywhere and, from what I have seen, you either love or hate it. I happen to love this refreshing and chewy beverage and decided to see if I could make it at home. We have a local Chinese grocery store that sells all sorts of tea products, so not knowing where to start… I had the grocer help me pick out the ingredients. I ended up with black bubble tea tapioca pearls, sweetened condensed milk, bubble tea straws, loose leaf Jasmine tea, and loose leaf Thai tea (which produced a very orange drink even with the milk in it).
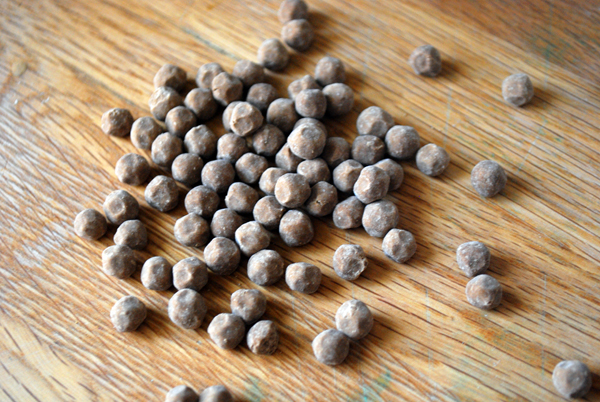
Uncooked Pearls
The process wasn’t difficult and left me with the desire to try different recipes. Next time I’m going to try adding fresh blended fruit (so expect more posts on this topic). I thought the tapioca pearls had an awful smell and taste, so I really rinsed the pearls well when they finished cooking. After adding the honey and sugar they were much better.
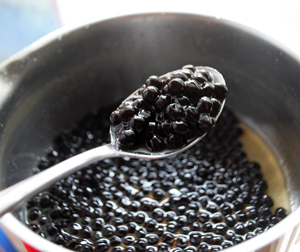
Tapioca Pearls Cooked
Using different types of brewed tea can change the color of your tea. The Thai tea was a bright orange, and the Jasmine was white (after adding the milk). For both types, I needed to strain the leaves with a sieve several times.
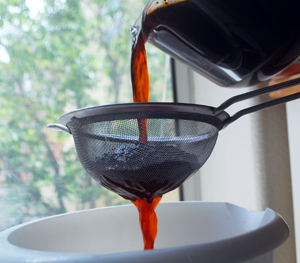
Brewed Thai Tea
Purrrrr

Recipe: Thai Bubble Tea

Ingredients

  • 1 cup Bubble Tea Tapioca Pearls
  • 8 cups water
  • 4 Tbsp honey
  • 2 Tbsp brown sugar
  • Your choice of Tea (freshly brewed)
  • Sweetened condensed milk (optional)
  • Large Bubble Tea Straws

Instructions

  1. Boil water. Add tapioca pearls and stir until they float. Continue to boil for 15 minutes (stir occasionally).
  2. Remove from heat and cover.
  3. Let sit for 15 minutes.
  4. Drain and rinse with cold water.
  5. Add honey and brown sugar to pearls, stir to form a syrup. Refrigerate until ready to use.
  6. To serve: Add about 1/4 cup pearls to a glass. If desired, stir in sweetened condensed milk into your brewed tea, to taste. Pour the brewed tea over the pearls. Add the straw. Enjoy!

Preparation time: 10 minute(s)

Cooking time: 30 minute(s)

Number of servings (yield): 4

Presidential Peach Pie

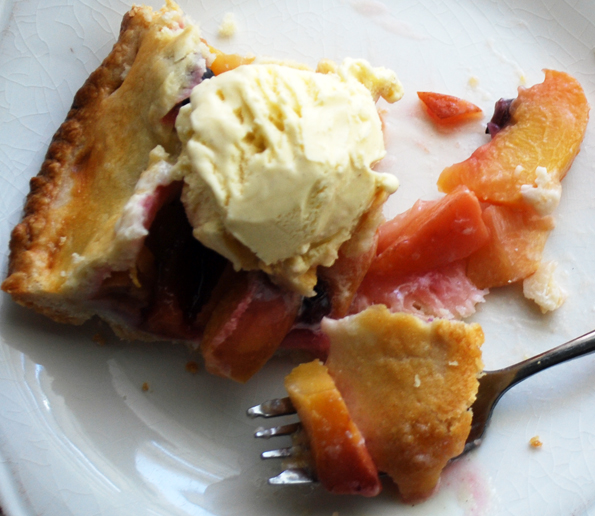
Slice of Peach Pie
Peach Pie fit for a president… seriously… I’m not kidding… why? I’ll tell you why. This pie dough recipe is from Roland Mesnier’s book Dessert University. Roland Mesnier was the former White House executive pastry chef for almost 25 years. He made cookies and pies and everything sweet for Rosalynn Carter, Nancy Reagan, Barbara Bush, Hillary Rodham Clinton, and Laura Bush’s tea parties, their family dinners, and state dinners.

My mother met him in person at a cake convention and gave me his autographed cookbook a few years back for Christmas. I will admit, that although his book has some pretty fancy schmancy things in there, the instructions are fairly easy to understand. I have only tackled the simpler recipes like pie dough, fruit salad, and cookies. One day when I’m braver, I might try pulled and spun sugar techniques.

Roland Mesnier’s “All-American Pie Dough” recipe has never let me down, and it is what I use in this peach pie. It has a very nice flaky texture and it is very easy to make. The dough can be frozen for up to 3 months, simply defrost in the fridge overnight.

Peaches are in season now, so this pie is perfect for your next summer potluck picnic. I used my leftover blueberries as well, it gave the pie a nice tartiness to balance the sweet peaches, as well as a beautiful color combination. I hope you enjoy it as much as we did!

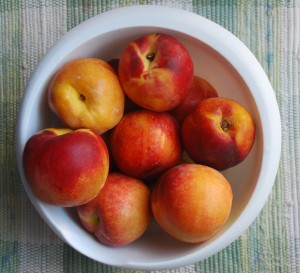
Bowl of Peaches

Bowl of Peaches

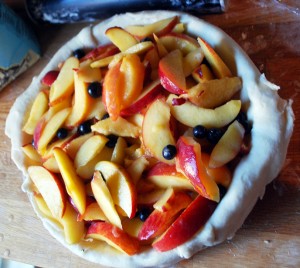
Peaches and Blueberries

Peaches and Blueberries

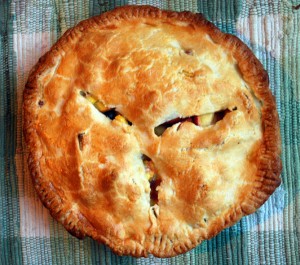
Fresh Baked Peach Pie

Fresh Baked Peach Pie

Peach Blueberry Pie

adapted from Tyler Florence

  • Double crust pie dough (see below for recipe)
  • 10 peaches
  • Roughly 1/3 cup blueberries
  • 1/4 cup sugar
  • juice of 1/2 a lemon
  • 1 1/2 TBSP flour
  • 2 TBSP butter
  • 1 egg beaten with a splash of water for egg wash
  1. Preheat oven to 400
  2. Slice peaches (you can peel them if you like but I didn’t. My husband would have preferred the skin off though.)
  3. Toss fruit with the sugar, lemon and flour.
  4. Roll out on of the divided pastry dough. The technique I like to use: sprinkle dough with flour on both sides. Sandwich the dough inside 2 sheets of plastic wrap, then using a rolling pin, roll out the dough into a circle. Lift off the top plastic wrap, then gently flip onto the 9″ pie pan. Pull off the remaining plastic wrap.
  5. Spoon the fruit mixture into the pan. Dot with the butter.
  6. Roll out the remaining pie dough and place on top of pie. You can keep it solid, or do strips, whichever you prefer. Make sure there are slits on the top.
  7. Brush top with egg wash.
  8. Bake for about 50-60 minutes. Serve with vanilla ice cream!

Tip: I usually put foil around the crust about mid way through to prevent the crust from burning.

All -American Pie Dough

from Roland Mesnier’s Dessert University

  • 3 1/2 cups cake flour
  • 1/3 cup sugar
  • 1/2 cup water
  • 1 1/2 cups solid vegetable shortening
  • pinch of salt
  1. Combine all ingredients in bowl of electric mixer, mix on low with paddle attachment until dough is smooth.
  2. Divide dough into two equal pieces, wrap them in plastic wrap, refrigerate for at least 1 hour.

Makes enough for 1 double crust 9″ pie.

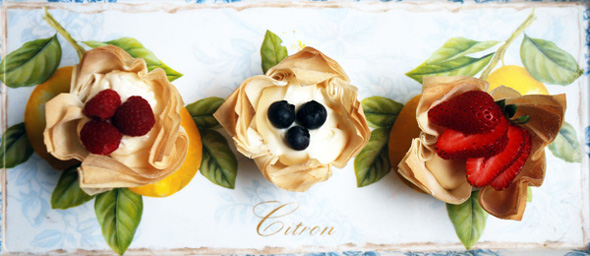
Cheesecake Phyllo Fruit Cups

Cheesecake Phyllo Fruit Cups

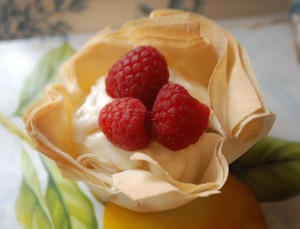
Cheesecake Phyllo Raspberry Cup
Last week I tried to make a dinner with phyllo dough, my first time working with the stuff, and it really wasn’t anything noteworthy. It was a baked dish and the phyllo just tasted like paper. I was quite unimpressed, especially considering the preparation was confusing to me and therefore time consuming. So back into the fridge went the remaining unused dough to be used at a later date or just left to age so that I can find it acceptable to throw it out. (It has a 10 day expiration date once thawed).

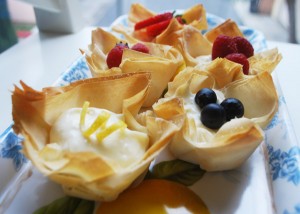
Cheesecake Phyllo Fruit Cups

Cheesecake Phyllo Fruit Cups


Last night, I looked in the fridge and saw that I had unused whipped cream cheese (with no bagels), an overabundance of sweet summer berries, that lemon curd jar that we found to be too sweet for our liking, and of course the phyllo dough. So I went online, found various recipes, and then experimented. I made the phyllo cups the night before, and the cheesecake filling. I left the phyllo cups out on the counter, and the filling I put back into the cream cheese container and returned to the fridge for the next day. The next day… spoon the filling into cups, top with sweet berries… heaven!
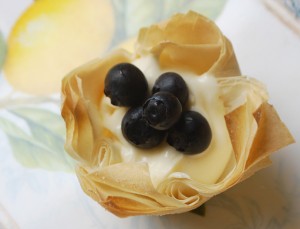
Cheesecake Phyllo Blueberry Cup

Cheesecake Phyllo Blueberry Cup


The cups were light, sweet, crispy, and made a surprisingly loud crunch sound when bitten. The filling was rich and worked so perfectly with the fruit topping. This would be an easy dessert to serve for company since it could be prepared the night before (with very little effort). Once the cups are filled with the cheesecake filling they have about 1 to 2 hours before the bottoms start to get a little soft.

Continue reading

Sunflower Bread

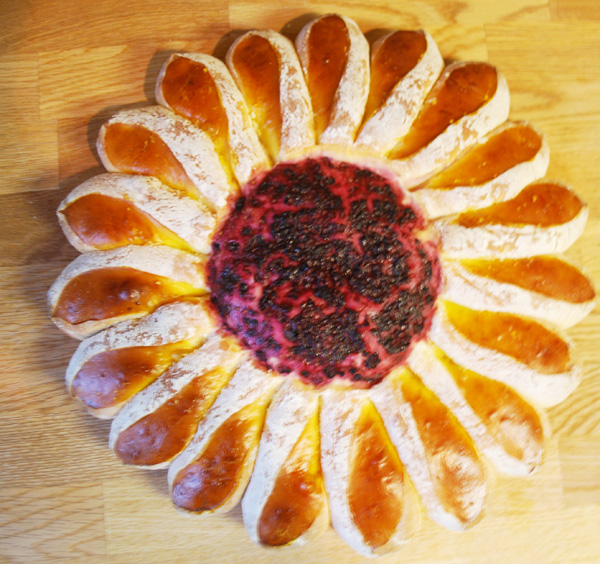
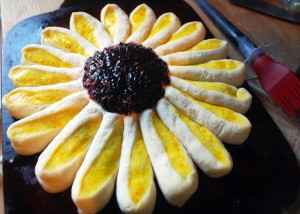
Sunflower Shaped Sweet Bread
When I saw this beautiful bread on Chef Tess’s blog, I had to try it for myself. I mean, what a creative way to bring major attention to your average dinner roll. I can just picture this at a summer picnic, or even a formal dinner party. Instead of passing a basket of rolls around, have each guest grab a petal!

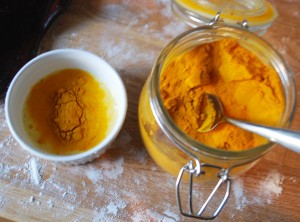
I picked out a simple sweet bread recipe that I have used several times in the past with great success. For decorating, I used a turmeric powder to make the dye and crushed blackberries for the center. The blackberries were tasty on the sweet bread, but I think you could use chocolate chips, some variety of seeds, or maybe another dye made from cocoa powder for the center. If you have suggestions, please leave a comment, I would love to hear your ideas!

So the question is… was it a difficult process? I thought it would be but it was actually quite simple. Aside from the dough rising and baking time, it took about 20 minutes to form and “color” the flower, and I had a lot of fun doing it!

He loves me, he loves me not, he loves me!

He loves me, he loves me not, he loves me!

Sunflower Bread Preparation Step 1

Sunflower Bread Preparation Step 1


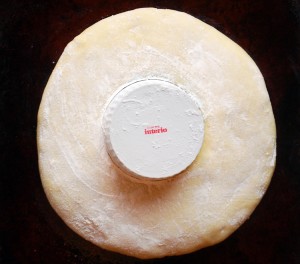
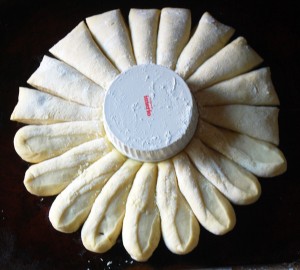
Sunflower Bread Preparation Step 2

Sunflower Bread Preparation Step 2


Petal Dye

Petal Dye


Sunflower Bread Prebaked

Sunflower Bread Prebaked

Sweet Bread Recipe

Taken from All Recipes

  • 1 cup warm milk
  • 1 egg
  • 2 tablespoons margarine
  • 1/3 cup white sugar
  • 3/4 teaspoon salt
  • 3 cups bread flour
  • 2 1/2 teaspoons active dry yeast

Instructions

  • Combine the milk, sugar, and yeast in the bread machine. Let sit for 5-10 minutes until frothy. Add remaining ingredients and start machine on the “dough” setting.
  • Preheat oven to 350F
  • Place dough on floured surface. Roll it into a nice soft ball.
  • Transfer to a greased baking sheet or baking stone, flatten into a circle.
  • Place a small dish or cleaned out jar upside down in the center of the circle. I used a small ramekin.
  • Lightly brush or mist dough with olive oil.
  • Sprinkle flour over the exposed dough.
  • Remove the dish or jar.
  • Using a knife, cut your petals about 3/4 of an inch. Then Gently lift and slightly pull out the petal, then turn it to the side. Do this for all petals and adjust them lengthwise so they match.
  • Next make the dye for the petals: crack one egg in a small dish, mix in turmeric (or curry powder) little by little until you get the color you like.
  • Use a new paintbrush to brush on the dye for each petal.
  • In a small dish, crush blackberries. Gently spoon them into the center.
  • Bake for 25-30 minutes, until golden brown.
Related Posts Plugin for WordPress, Blogger...