Butterbeer Floats

Butterbeer Floats
Like most Harry Potter fans, I find it hard to accept that the end is finally here. I’m an adult now but I still have a soft spot for these books and movies. I am looking forward to the day when I can start reading these books to my sons and revisit this magical world all over again.

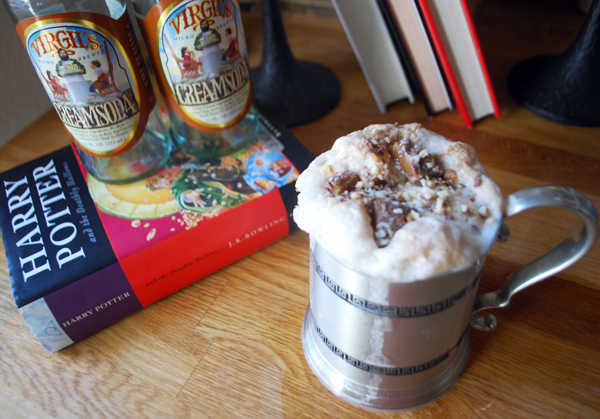
I can only imagine how many Harry Potter parties are happening this week with the premiere of Harry Potter and the Deathly Hallows Part 2… so here is a beverage you can toast to. My super easy take on what I imagine that creamy cold mug of butterbeer might taste like. With only 3 ingredients, you can spend less time in the kitchen and more time watching that quidditch game. These would be perfect for both young and young at heart fans alike. Enjoy!

Recipe: Harry Potter Butterbeer Floats

Summary: Faster than waving your wand…

Ingredients

  • Cream Soda
  • Butter Pecan Ice Cream
  • some type of Caramel Toffee Candy topping – find in bulk section of the grocery store candy aisle (optional)

Instructions

  1. Drop 1 scoop ice cream into a cold mug of soda.
  2. Top with caramel bits if desired.

Preparation time: 5 minute(s)

Number of servings (yield): 1

Watermelon Agua Fresca

Watermelon Agua Fresca

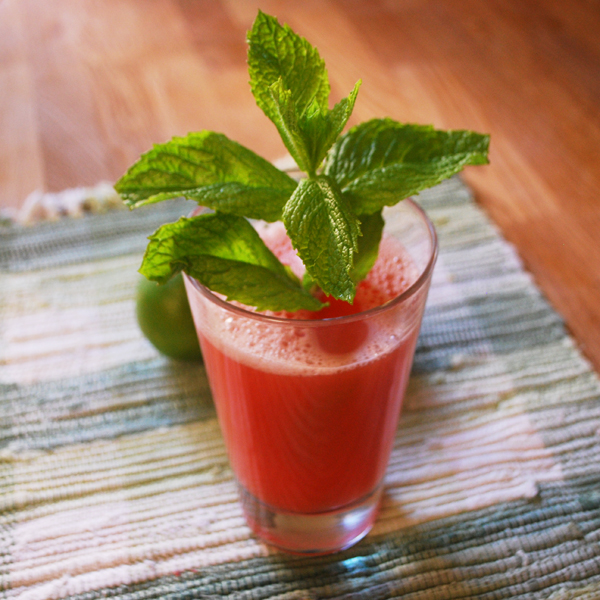
I started to notice agua frescas for sale at Whole Foods (California) for something like $3 for 8oz. The watermelon costs about half that at our local produce stand so I thought I might try to make this myself. I went home and did a little research on this type of drink.

Agua frescas were created in Mexico and are still widely popular and available from street vendors. These beverages pair nicely with spicy food. Many bloggers and recipes instruct you to use a blender (which I’m sure is time saving and still delicious) but if you really want the authentic experience, mash the fruit by hand and don’t use ice. The reason… less airy and frothy and less dilution. The beverage should be chilled properly so its nice and cool.

Watermelons are in season and showing up in big bins outside the grocery stores. Instead of walking by them, pick one up and make yourself a cool refreshing beverage. Mash it up and create a refreshing simple and healthy beverage. So much better than the processed fruit juices in the grocery store and so much more fun to make.

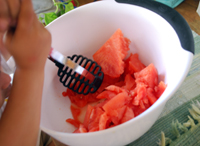
My 3 year old was the “masher” and I loved watching him laugh, get a little messy, and do all the work! Honestly, it was a fun activity to do and ended with a rewarding beverage to enjoy on a hot summer day. We loved this drink.. my son was excited to see where juice “comes from” and couldn’t get enough.

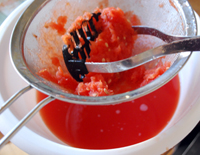
Chop it up
My Little Masher

Strain the juice

Recipe: Watermelon Agua Fresca

Summary: “Fresh Water”

Watermelon Agua Fresca

Ingredients

  • 1 5lb watermelon
  • 2 cups cold water
  • 1 Tbsp agave syrup (or other sweetener)
  • 1 lime
  • 1 sprig mint (optional)

Instructions

  1. Cut up the watermelon.
  2. Mash with fork or potato masher.
  3. Use strainer to strain out juice from pulp.
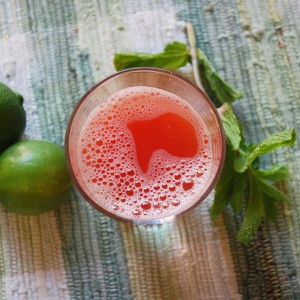
  4. Add water, sweetener, and juice of 1 lime to the juice.
  5. Refrigerate for a few hours.
  6. Garnish with mint and serve.

Preparation time: 20 minute(s)

Cooking time: 2 hour(s)

Number of servings (yield): 4

I’m All Shook Up Smoothie

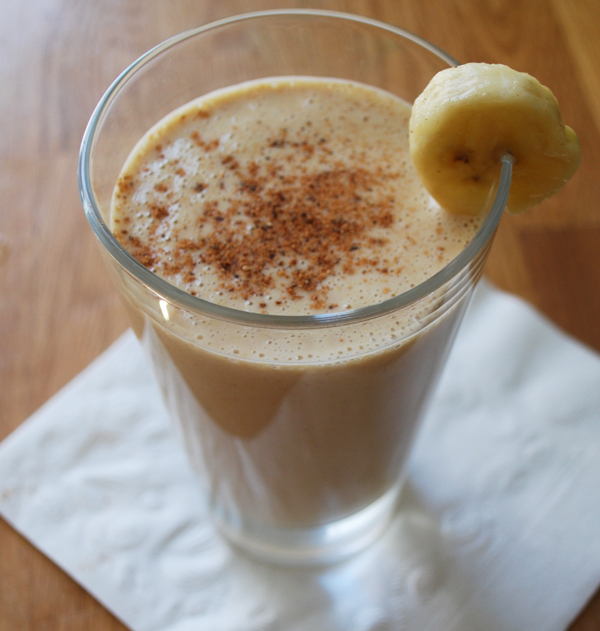
Elvis SmoothieThis is a smoothie that Elvis Presley would probably have approved of (his favorite sandwich: peanut butter + honey + banana + bacon!). I omitted the bacon because, well, that would just be pretty gross.
Elvis Smoothie
I do love making this smoothie, its so easy and tasty and I don’t feel any guilt in drinking a big tall glass of it. My three year old loves it too, a great way to get him to drink his milk. I noticed that my son has inherited a funny habit of mine… we kind of do a happy bopping motion when we eat something delicious. When we enjoy these smoothies, we like to do some Elvis dancing in the kitchen too.

I recently perfected this beverage, I have made it at least twice a week for the past month, making it different and adjusting ingredients each time. I think I finally have it just right. I use vanilla flavored almond milk because we have some dairy sensitivities in this household, but you can just as easily use regular milk and add a touch of vanilla extract as a substitute. I use a frozen banana so that I can skip the ice cube step that most smoothies have (my blender just doesn’t crush ice very easily or quickly).

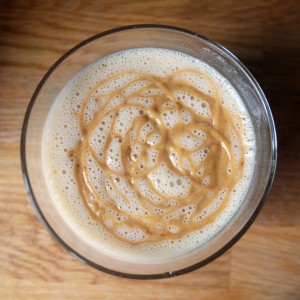
Note – Sometimes I decorate the top with melted peanut butter mixture (melt 1 spoonful of PB in microwavable bowl for about 1 minute, stirring half way through. Then mix with a little milk or honey to help make it soupy. Spoon into a ziploc bag, snip off a tiny piece of one corner and then squeeze it out on top of the smoothie.)

Decorate with melted peanut butter
I hope you enjoy it as much as we do!

Recipe: I’m All Shook Up Smoothie

Summary: a Peanut Butter, Banana, and Honey Smoothie

Ingredients

  • 2 cups Vanilla flavored Almond Milk
  • 1/2 cup peanut butter
  • 3 Tbsp honey
  • 1 large banana (peeled, sliced, frozen)
  • nutmeg (optional)

Instructions

  1. Peel and slice your banana. Put into a bowl and into the freezer for about an hour.
  2. Once banana is ready, throw all ingredients (except the nutmeg) into a blender. Blend until smooth.
  3. Shake some nutmeg on top. Serve. Dance. Be Merry.

Preparation time: 1 hour(s) (freezing time)

Cooking time: 5 minute(s)

Number of servings (yield): 4

Snick-a-tella Ice Cream Cake

Snick-a-tella Ice Cream Cake
Ice Cream Birthday Party
My hubby is celebrating his 35th birthday this year, the 10th one that we have celebrated together! Thinking back, I have made various cakes or desserts for him and sometimes we just went out to a nice restaurant… but I really haven’t done anything memorable. So this year I wanted to actually create a cake specially for him.

My husband isn’t a picky eater by any means, he always eats what I make for him and when I ask what he thinks, his response ranges from a “Eh” grunt, to “its ok”, and on rare occasions I get the very firm “its a keeper”. I know its really bad when he leaves his seat to fetch his mom’s homemade hot chili sauce. What I’m trying to say is that although not a picky eater, he definitely knows what he likes. When it comes to desserts I know exactly what his favorite things are, and I put them all together to make this cake.
Snick-a-tella Ice Cream Cake
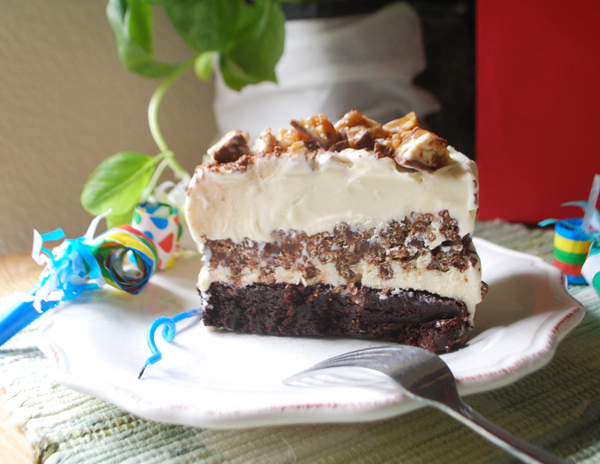
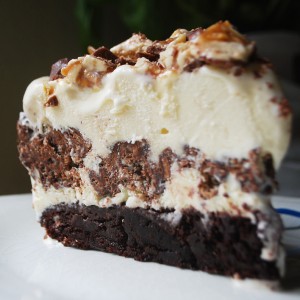
Layer 1: Had to be brownies, dark chocolate variety. I know because the few times when we have gone a to a buffet, he is always excited to end the meal with frozen yogurt over a brownie. I used Trader Joe’s Guilt Free brownies, they only require 1 cup yogurt, and bakes in 20 minutes.

Layer 2 & 4: Had to be Vanilla Ice Cream, ONLY the kind from Costco… Kirkland Signature Super Premium Vanilla Ice Cream.

Layer 3: Had to be nutella, he got hooked on this stuff when we lived in Switzerland for a year (one of our more adventurous “before kids” move.) This was turned into a crispy layer using a crispy rice cereal.

Layer 5: Snickers, his favorite candy bar.

The end result is something I like to call Snick-a-tella ice cream cake. Wow is it delicious! When my husband took a bite, he declared his love for this new creation and told me he wants this to be his official birthday cake. It lasted us a full week and every night, after the kids went to bed, we looked forward to grabbing another slice from the freezer. I’m so sad its gone.

Note – I have to admit, the rice crispy nutella middle was so easy to bite through and had a lovely crunchy texture, but it was oddly difficult to fork. I think adding more cereal to the mix might make this easier.

Recipe: Snick-a-tella Ice Cream Cake

Summary: Snickers and Nutella are the highlights of this cool creamy dessert.

Snick-a-tella Ice Cream Cake

Ingredients

  • 1 prepared pan of Brownies (in a 9″ spring form pan)
  • 1 half gallon Vanilla Ice Cream
  • 1/2 cup Nutella
  • 2+ cups Rice Crispies Cereal
  • 4 1 oz cubes semi-sweet baking chocolate
  • 4 Tbsp Unsalted Butter
  • 2 Snickers Bars

Instructions

  1. In a springform pan, bake 1 package of brownies. Let Cool.
  2. Set the container of Vanilla Ice Cream sit out at room temperature. You can speed this process up by using the warm function in the microwave.
  3. Scoop out the ice cream into a large bowl. Stir. Should be a nice easy consistency for spreading (still thick but soft).
  4. Stick pieces of parchment paper along the sides of the brownie pan.
  5. Spread HALF the ice cream onto the brownie layer. Freeze for about 30 minutes, or until hardened. Keep the remaining ice cream in the freezer or refrigerator.
  6. Meanwhile, in a microwavable bowl, melt the cubes of chocolate per package directions. Stir in the butter, nutella and then the crispy cereal.
  7. When ice cream layer is hardened, spread the nutella mixture on top of it. Then re-stir and spread the other half of ice cream.
  8. Chop up the snickers bars into small chunks. Sprinkle on top the cake. Freeze for about 5 hours.

Preparation time: 1 hour(s)

Related Posts Plugin for WordPress, Blogger...