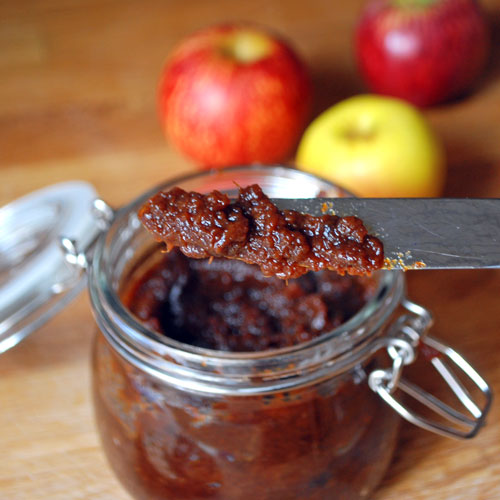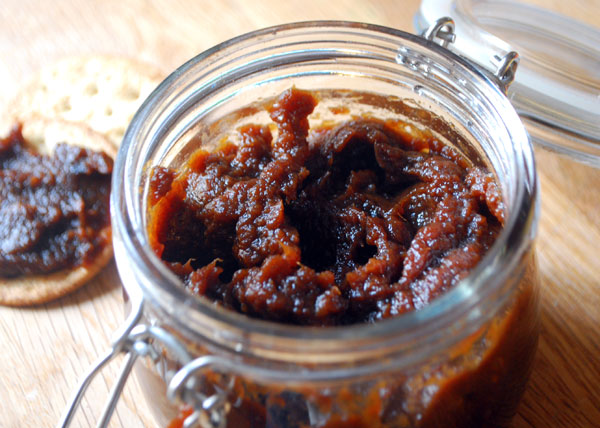
I found the perfect way to use up all the remaining apples from our apple picking trip, apple butter! This was my first time making it, and it couldn’t have been easier. My slow cooker did all the work while we slept, and we woke up to a wonderful smell in the kitchen and delicious spread for our toast.
Category Archives: Breakfast, Breads & Butter
Spooky Sandwich Bread
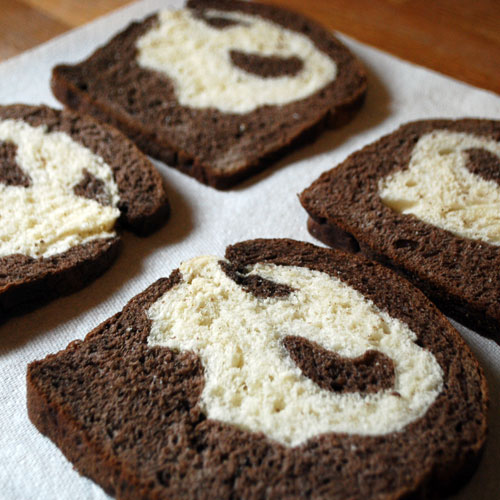
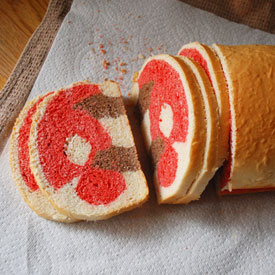
I had so much fun making Lightning McQueen Race Car bread, that I couldn’t resist giving this bread art technique another try. This spooky, ghostly, eerie bread was pretty simple to do, delicious, and would be great fun for Halloween! Continue reading
Nutella Waffles with Peaches ‘n’ Cream
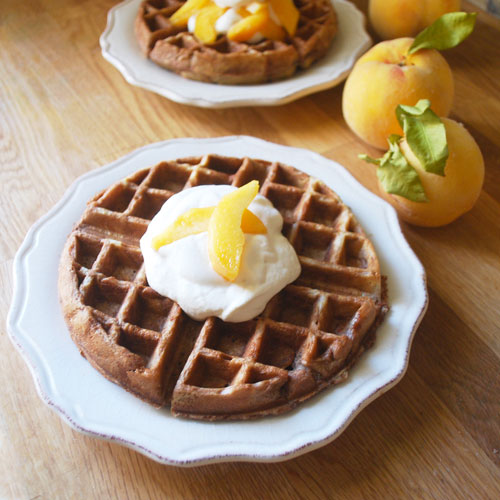 This was the most unplanned, easy, and delicious breakfast I may have ever made. My son asked for waffles on a Sunday morning, so I heated up the waffle iron, pulled out the Bisquick, and started to whip up the waffle batter when I saw the nutella sitting out on the counter from the night before (hubby likes it in his ice cream).
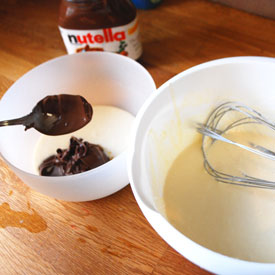
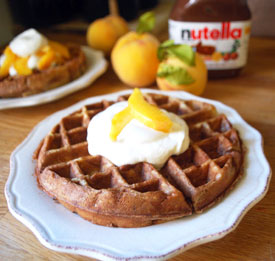 I decided why not swirl some chocolaty goodness into my mix and see if I can’t get a marble looking waffle. Well, the marble thing didn’t really come out so well, I probably mixed too much, but really it isn’t necessary, the taste was so good these waffles didn’t last long enough for anyone to admire the swirls. They were sweet but not at all overly sweet… they don’t need syrup and could be served for breakfast or dessert.
Then I noticed those beautiful peaches in the fruit bowl that our friends had thoughtfully picked from their own peach tree and brought over for us. So, I sliced a few of those, next, whipped up the last of the whipping cream in the fridge with some brown sugar so the peaches had something fluffy to sit on. The result… oh. my. gosh. It was one of those dishes where you want to eat so much your stomach hurts because your taste buds can’t get enough.
Recipe: Nutella Waffles with Peaches n Cream
Ingredients
- 1 batch of waffle batter (made per package instructions)
- 1/3 cup nutella
- 1 cup heavy whipping cream
- 1 TBSP brown sugar
- 1 peach
Instructions
- Heat up the waffle iron.
- Mix the nutella in the waffle batter. Make your waffles. Note- I spray my iron before each waffle, otherwise it sticks. I also use setting 3, or medium. If you want to try marble, take a cup of the batter and mix the nutella with it in a separate bowl, then stir it back into the big batter mix slightly.
- In your electronic mixer, using the wire attachment, whip up the whipping cream until soft peaks form (about 5 minutes). Add the brown sugar, whip for a few more seconds.
- Serve the waffles with the cream and peach slices.
Preparation time: 10 minute(s)
Cooking time: 10 minute(s)
Number of servings (yield): 4
Lightning McQueen Race Car Bread
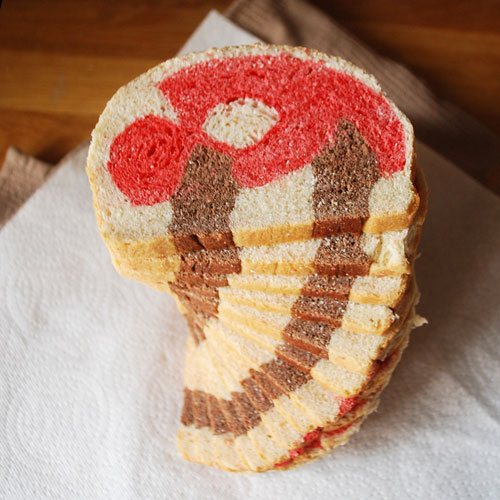 You may have heard of Panda Bread, the Japanese white bread made with matcha “green tea” powder and cocoa powder shaped to resemble a panda bear? If not, check out this Taste for Adventure, they have a great tutorial for this adorable looking bread. (It’s where I got the recipe for this too.)
Well, panda bear bread has been on my to do list for some time now, so what better time to do it than to give my son a special sandwich for his first day of preschool?
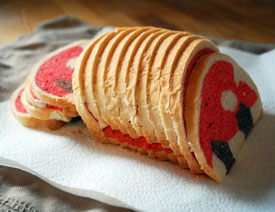
I can’t believe my baby is going to school, where did the time go? I’m getting teary eyed just thinking about it. To make his first packed lunch a special one, I wanted something really awesome, something he can show off to the other kids, maybe a conversation starter for him, or at the very least something that will make him smile.
So I told my 3 year old that I was going to make panda bread for him. He told me nooooooo, he didn’t want panda bear bread. He said he wanted Lightning McQueen bread. Why not panda bread? Because he wanted to be super fast of course! So, race car bread it was. It was time consuming, but fun, kind of like the adult equivalent of play dough time. I thought it came out pretty well, and even though its not quite clear that its Lightning McQueen, to my 3 year old its the coolest bread ever.
To see step by step instructions on how to make this bread and many other examples of bread art, check out my new eBook!
Recipe: Race Car Bread
Summary: variation of the popular panda bear bread
Ingredients
- 3 cups all-purpose flour
- 2 1/2 TBSP sugar
- 1 cup milk w/ 1 egg yolk (total or 1 cup together)
- 1 1/2 tsp salt
- 1 1/2 TBSP unsalted butter, softened
- 2 1/4 tsp active dry yeast (1 packet)
- red food coloring
- 4 tsp cocoa powder mixed in 2 tsp hot water
Instructions
- Heat the milk with the egg yolk in the microwave for 30 seconds.
- Add everything to the bread machine (except the cocoa powder and food coloring). Set and start the dough setting.
- When its over, pull out the dough, separate into 3 balls. The white and red I made equal, the black for the wheels was smaller. Use your judgment.
- Now mix the cocoa powder with water to become a paste. Knead into one dough ball. Knead for about 10 minutes, you can do this in your food mixer with the hook attachment or do by hand (your arms will hurt!). But knead until its evenly colored. Do this for the red ball as well.
- Cover all 3 balls with greased plastic wrap and also a kitchen towel for another 40 minutes until it rises again.
- now use your rolling pin and your imagination to create all the pieces. Follow my photos to see how I did mine. When finished, place into the bread loaf and cover again with the plastic wrap, kitchen towel. Place into microwave oven or in an enclosed area. Let rise for another hour.
- Preheat oven to 350. Bake for 30 minutes. Cool then Slice.
Preparation time: 3 hour(s)
Cooking time: 30 minute(s)
Number of servings (yield): 8

