Strawberry Yogurt Cake Roll

Strawberry Cake Roll We are celebrating over here in the cakestudent household because I got my first product promotion! Yay! Dannon has asked me to sample their new line of Activia Selects French and Greek yogurt. And, boy was I happy to do it!

So, cakestudent fans, I’m excited to announce that you can join us in the celebration… Visit the Activia Selects Facebook page to get your FREE coupon now! Take it with you to any local super market to redeem. Let your friends and family know… the coupons are available only until August 15th… so spread the cheer!
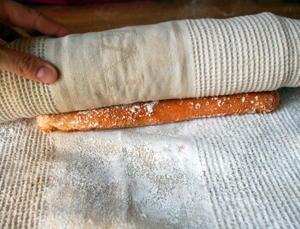
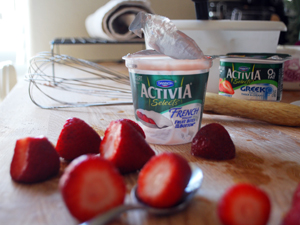
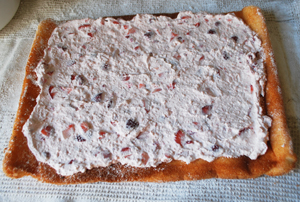
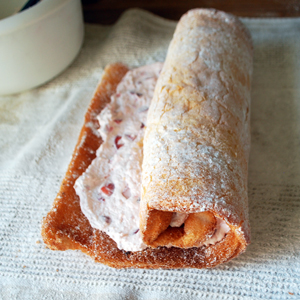
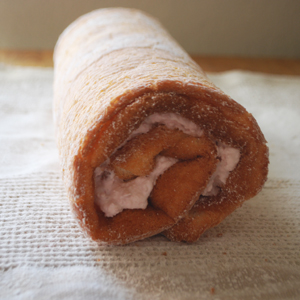
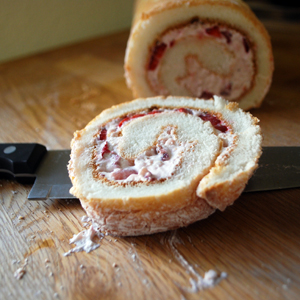
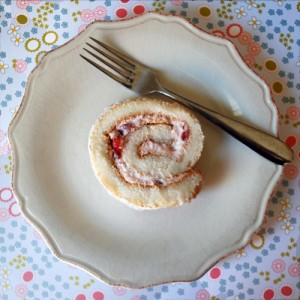
Cake Rolled in Towel Activia Strawberry French Yogurt Unroll, top with filling Roll up with Filling Ready to Freeze Slice of Cake?
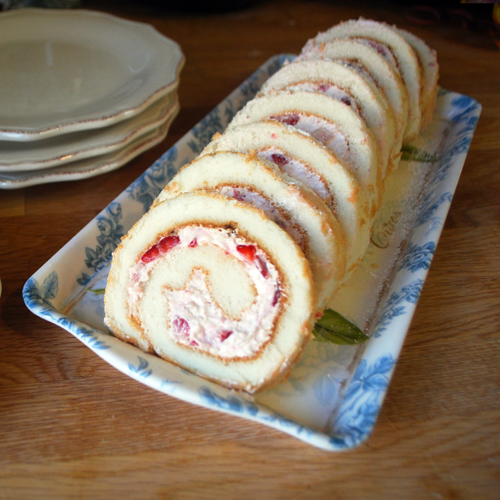
Slice of swirly goodness
The challenge for me… what to make that could showcase this yogurt? Well, usually we just enjoy our yogurt right out of the cup, sometimes dipping fresh strawberries into it. I have also used strawberry yogurt in smoothies, popsicles, baked it in cakes and muffins. But for this task, I decided to go with a recipe that really honors my original intent for this blog… to be a student of cakes. I have never made a roll cake before, and I thought it was a good time to try. The beauty of this recipe is that the yogurt isn’t baked in the batter, but rather its used as a filling after the baking process… so you can really taste the yogurt.

Roll cake, A.K.A swiss roll, A.K.A jelly roll… this cake was thought to be created over a hundred years ago somewhere in central Europe. There must be a reason it’s lasted so long. After creating it in my own kitchen I found out why, it’s really fun to make! The final product is attractive, it was easy to make, cleanup was a breeze, and its a light delicious summer dessert. Since it is set in the freezer, the creamy yogurt filling is very cold and the angel food cake is still soft and airy.

I tested out the Dannon Activia French Strawberry with chunks on the bottom, and Strawberry flavored thick & creamy Greek. Both were good, but if I had to choose my favorite it would have to be the Greek (I really love the creaminess). The chunks of strawberries in the French yogurt lended itself nicely to this cake filling. It was only a 6 oz container, so I added a few spoons of the Greek and also chopped up about 1 cup worth of fresh strawberries and added it to the filling. Then when I finished, I sat back and polished off the Greek yogurt as my reward.

This cake is definitely a keeper, great for a dinner party. It just presents so nicely, and its a very light treat to offer after a full meal. So easy to make you can’t really mess it up. Well, it was almost perfect… I did learn a lesson from my first attempt: when prepping the rolled cake to go into the freezer… you mustn’t wrap with plastic wrap because the golden outer layer will peel off in bits when you take it out to serve. Instead, just keep it in some kind of covered container while its freezing. However this mistake was easily concealed by sifting powdered sugar on the top.

Note: The recipe called for a jelly roll pan, I didn’t know if I had one or not. After some digging on the internet I found out I could use my cookie sheet measuring 15.25 x 10.25 x .75 in. I didn’t use all the cake batter because it wasn’t 1″ deep and I wanted to avoid an overflow. So I filled it to the rim and then put the leftover batter into a muffin tin and made 6 cupcakes.

Recipe: Strawberry Cake Roll

Ingredients

  • 1 (16 oz) box of Angel Food cake mix
  • 5 tsp confectioners sugar
  • 1 (8 oz) non-fat strawberry yogurt
  • 1 (1 oz) package instant sugar free white chocolate pudding mix
  • 2 cups Lite whipped topping

Instructions

  1. Set your oven rack to the lowest level. Preheat the oven to 350C.
  2. Line Jelly Roll pan with waxed paper. Place a clean kitchen towel on your workspace, dust with the confectioner sugar.
  3. Make the Angel Food cake according to package directions.
  4. Pour into the prepared pan and level it with a spatula. Bake for about 15 minutes, or until golden. Let cool for 5 minutes.
  5. Flip cake onto the prepared kitchen towel dusted with the sugar and very gently peel off the waxed paper. Roll up jelly-roll style in the towel, then place the whole thing on a wire rack to cool.
  6. While cooling, whisk the yogurt, the pudding mix in a bowl. Then fold in your whipped topping.
  7. Unroll the cake and spread filling evenly over the cake. Roll it back up (without the towel!). Place it into a covered container and freeze it for at least a few hours. When ready to serve, remove and let thaw for about 30 minutes before slicing.

Preparation time: 20 minute(s)

Cooking time: 15 minute(s)

Number of servings (yield): 8

This sponsorship is brought to you by Activia Selects who we have partnered with for this promotion.
FREE coupon offer good 8/3 /11 – 8/15/11, up to 1 million coupons, on any Activia Selects Single Serve, up to $3.00. One coupon per household. Offer valid in the U.S only. VOID IN LA, NJ, CA. Coupon valid until 8/15/11.
Residents of LA, NJ, CA will be given a ‘$1 off 3 Activia Selects’ coupon.

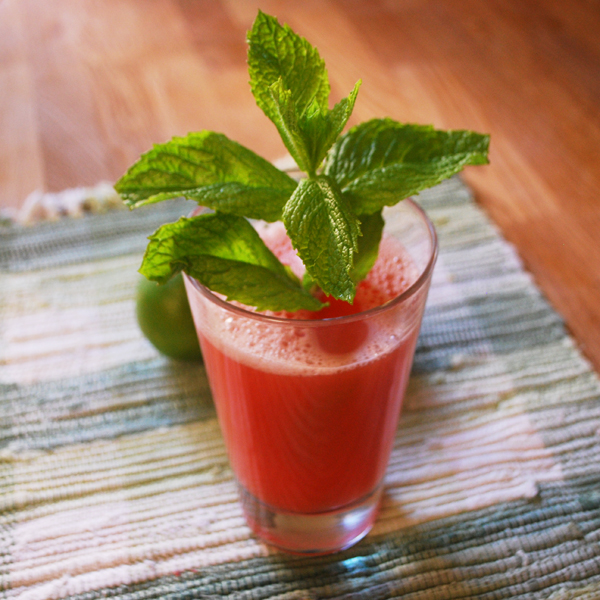
Watermelon Agua Fresca

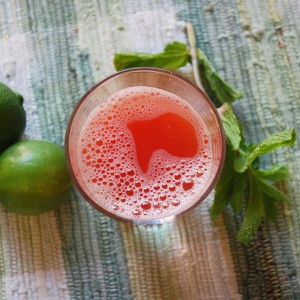
Watermelon Agua Fresca

I started to notice agua frescas for sale at Whole Foods (California) for something like $3 for 8oz. The watermelon costs about half that at our local produce stand so I thought I might try to make this myself. I went home and did a little research on this type of drink.

Agua frescas were created in Mexico and are still widely popular and available from street vendors. These beverages pair nicely with spicy food. Many bloggers and recipes instruct you to use a blender (which I’m sure is time saving and still delicious) but if you really want the authentic experience, mash the fruit by hand and don’t use ice. The reason… less airy and frothy and less dilution. The beverage should be chilled properly so its nice and cool.

Watermelons are in season and showing up in big bins outside the grocery stores. Instead of walking by them, pick one up and make yourself a cool refreshing beverage. Mash it up and create a refreshing simple and healthy beverage. So much better than the processed fruit juices in the grocery store and so much more fun to make.

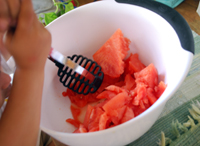
My 3 year old was the “masher” and I loved watching him laugh, get a little messy, and do all the work! Honestly, it was a fun activity to do and ended with a rewarding beverage to enjoy on a hot summer day. We loved this drink.. my son was excited to see where juice “comes from” and couldn’t get enough.

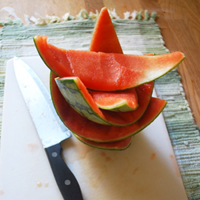
Chop it up
My Little Masher

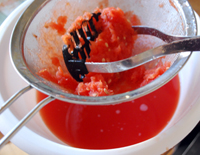
Strain the juice

Recipe: Watermelon Agua Fresca

Summary: “Fresh Water”

Watermelon Agua Fresca

Ingredients

  • 1 5lb watermelon
  • 2 cups cold water
  • 1 Tbsp agave syrup (or other sweetener)
  • 1 lime
  • 1 sprig mint (optional)

Instructions

  1. Cut up the watermelon.
  2. Mash with fork or potato masher.
  3. Use strainer to strain out juice from pulp.
  4. Add water, sweetener, and juice of 1 lime to the juice.
  5. Refrigerate for a few hours.
  6. Garnish with mint and serve.

Preparation time: 20 minute(s)

Cooking time: 2 hour(s)

Number of servings (yield): 4

I’m All Shook Up Smoothie

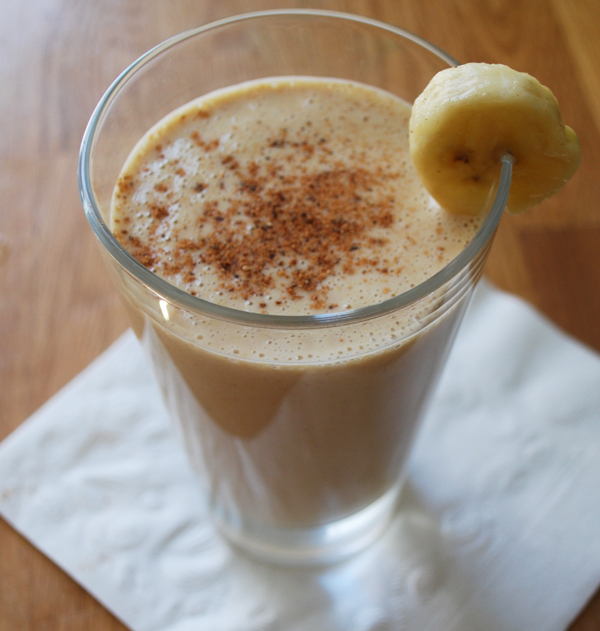
Elvis Smoothie This is a smoothie that Elvis Presley would probably have approved of (his favorite sandwich: peanut butter + honey + banana + bacon!). I omitted the bacon because, well, that would just be pretty gross.
Elvis Smoothie
I do love making this smoothie, its so easy and tasty and I don’t feel any guilt in drinking a big tall glass of it. My three year old loves it too, a great way to get him to drink his milk. I noticed that my son has inherited a funny habit of mine… we kind of do a happy bopping motion when we eat something delicious. When we enjoy these smoothies, we like to do some Elvis dancing in the kitchen too.

I recently perfected this beverage, I have made it at least twice a week for the past month, making it different and adjusting ingredients each time. I think I finally have it just right. I use vanilla flavored almond milk because we have some dairy sensitivities in this household, but you can just as easily use regular milk and add a touch of vanilla extract as a substitute. I use a frozen banana so that I can skip the ice cube step that most smoothies have (my blender just doesn’t crush ice very easily or quickly).

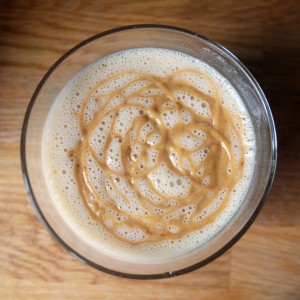
Note – Sometimes I decorate the top with melted peanut butter mixture (melt 1 spoonful of PB in microwavable bowl for about 1 minute, stirring half way through. Then mix with a little milk or honey to help make it soupy. Spoon into a ziploc bag, snip off a tiny piece of one corner and then squeeze it out on top of the smoothie.)

Decorate with melted peanut butter
I hope you enjoy it as much as we do!

Recipe: I’m All Shook Up Smoothie

Summary: a Peanut Butter, Banana, and Honey Smoothie

Ingredients

  • 2 cups Vanilla flavored Almond Milk
  • 1/2 cup peanut butter
  • 3 Tbsp honey
  • 1 large banana (peeled, sliced, frozen)
  • nutmeg (optional)

Instructions

  1. Peel and slice your banana. Put into a bowl and into the freezer for about an hour.
  2. Once banana is ready, throw all ingredients (except the nutmeg) into a blender. Blend until smooth.
  3. Shake some nutmeg on top. Serve. Dance. Be Merry.

Preparation time: 1 hour(s) (freezing time)

Cooking time: 5 minute(s)

Number of servings (yield): 4

Star Spangled Strawberries

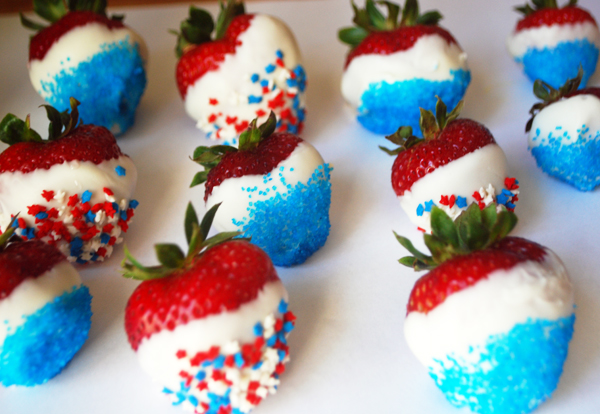
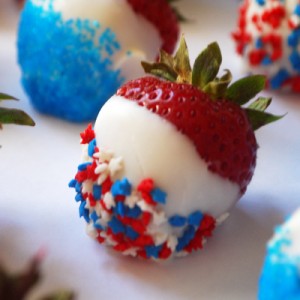
4th of July Chocolate Strawberries

If you read my last post about Jell-o, you will know that we are going on a picnic this weekend to celebrate the 4th of July. I decided last minute to add another dessert, umm… I mean fruit, to our basket. So here they are… sweet strawberries with a little patriotic flair. These were fun to make with my 3 year old, he sat there and narrated everything I was doing “Now dipping into the chocolate!” “Now dipping into the blue stuff!” “Now it goes into my mouth!” He only got one for being a good helper (and lots of pre-dipped strawberries too).
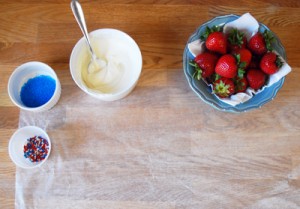
Setting Up
4th of July Chocolate Strawberries

Recipe: 4th of July Strawberries

Ingredients

  • 1+ cup White Melting Chocolate
  • 12 strawberries
  • Sprinkles of choice

Instructions

  1. Set up workspace by putting sprinkles in a small containers. Have an extra container handy. I used ramekins. Wash and dry strawberries. Lay out wax paper.
  2. Melt chocolate in a microwavable safe bowl in the microwave by slowly doing 10 second intervals and stirring until its the right consistency for dipping.
  3. Dip strawberry into chocolate, then hold over an empty bowl, shake the sprinkles onto the chocolate part. (This will help reduce the clumping in your sprinkles. ) Lay on wax paper to harden. Repeat for all. Melt more chocolate as needed.
  4. Enjoy!

Preparation time: 5 minute(s)

Cooking time: 10 minute(s)

Number of servings (yield): 12

Related Posts Plugin for WordPress, Blogger...